I’ll find elements in the demolition and reconstruction process I like and want to keep. I keep them in the back of the mind until a solution pops up; sometimes by playing around with ideas, the answer will come. Discovering the tiles was a wonderful surprise.
I’ve always enjoyed ‘before/after’ photos and wanted to show some from when I first got the house .
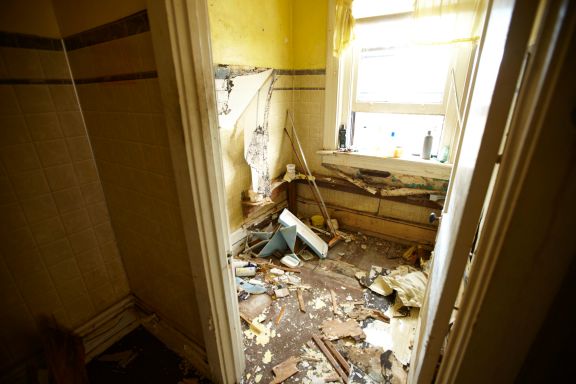
Presently the first floor has a small half bathroom where the previous one existed. Here’s what I found and how it got put back together:

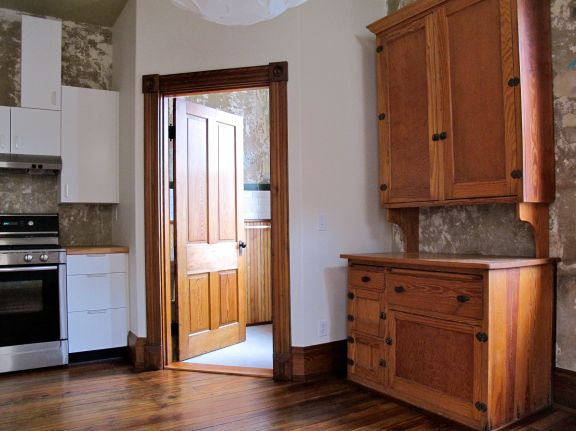
In The Beginning… here’s the kitchen on the back of the house. The small room on the left was the old bathroom probably put there in the 1930’s when the house was split into a two-family; very common during the depression.
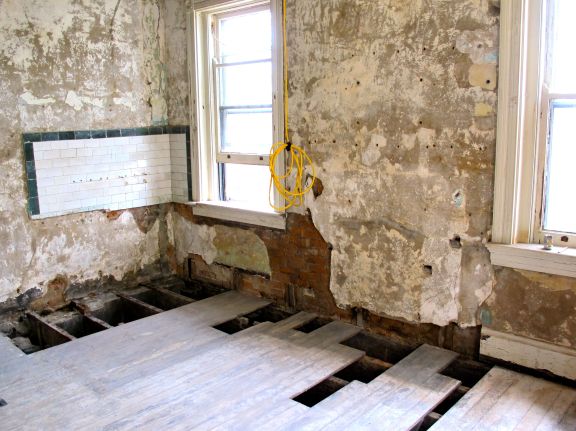
Beyond the left door jam, you can just see the subway tiles.

They were completely covered by sheets of dense paper board with printed faux tiles.

Here’s what I believe happened: the house was built without water in the kitchen, then around 1910 a sink was added and mounted onto these tiles. They all had some manufactering blemishes hence I believe they were ‘seconds’. As you’ll see, I removed about half the tiles, some were loose, others were damaged, and it worked out for the best end result.
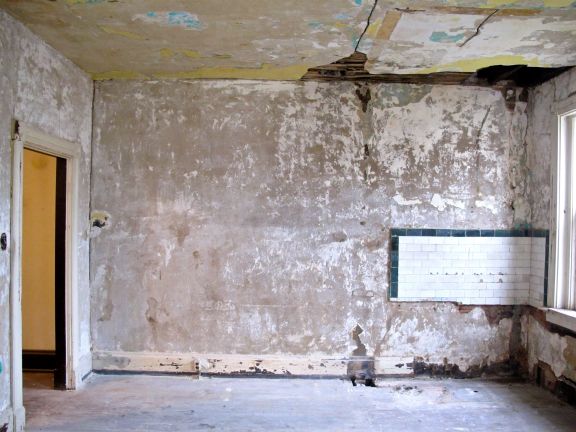
On the ceiling you can see the outline of the old bathroom. The doorway and wall on the left was removed to tie the two rooms together; now, the kitchen bridges them together.
We’ve come a looooong way!

A detail of the finished bathroom.
I used beadboard from a friend who demoed a basement bathroom. I used a hand-held power planer to remove the surface paint, leaving behind a pin-stripped look.

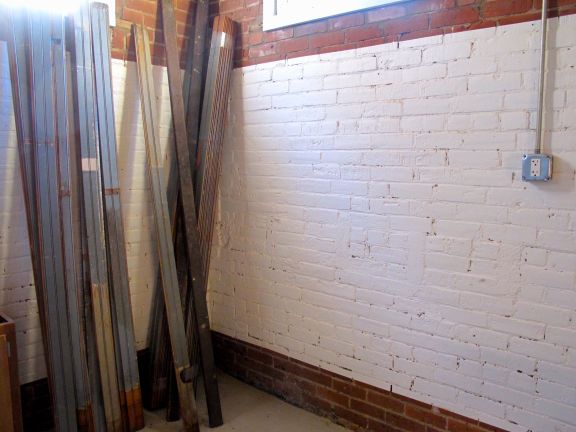
All the new walls are smooth and painted white. The exterior walls have the exposed ‘brown’ coat rich with the history of repairs.
kitchen – small bath – hutch


I adore before and afters. Especially ones as beautiful as these! Love the tiles next to the wood.
love the shape the old tiles make—like a hello from the ghost of the past!
d
looks amazing mark